How long do you bake a mug with Sharpie?
Bake it. Bake the mug in the oven for 30 minutes at 350°F. Remember to place the mug in the oven before it heats up and leave it in until the oven cools completely so there won’t be any cracks. You can choose to bake the mugs twice to really set in the Sharpie drawings.
Can you microwave a mug with Sharpie on it?
Yes. Your Sharpie mug should be microwave safe since the ceramic it’s made from has already been cured, and the heat from the microwave should not be intense or prolonged enough to cause the mug to break.
What markers will stay on a mug?
Best Sharpies to Use on Mugs
- Sharpie Paint Marker Fine Point Oil-Based All 15 Color Set.
- Sharpie Oil-Based Paint Markers, Medium Point, Bright Colors.
- Sharpie Oil-Based Paint Marker, Medium Point, Black Ink.
How do I permanently write on a mug?
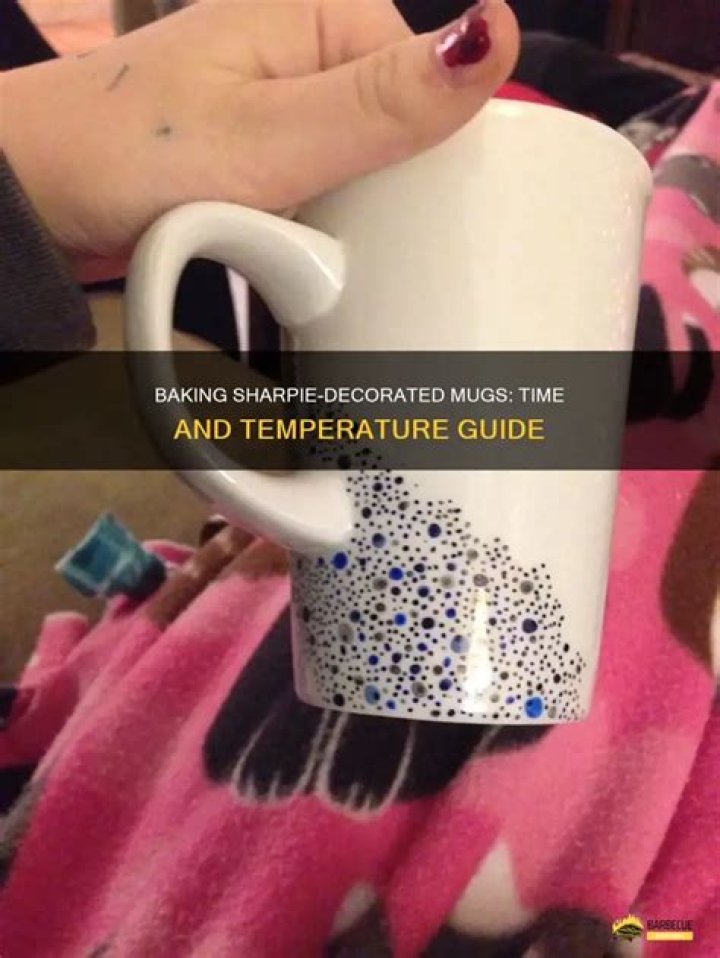
DIY Sharpie Mugs
- Step 1: Wash and dry your mug, if new.
- Step 2: Use a pencil to rough out a design for any words or lines.
- Step 3: Carefully draw your design with Sharpie paint markers.
- Step 4: Add accent colors, if necessary.
- Step 5: Bake mugs at 350 degrees for 20 minutes to set paint; let cool completely.
Does Sharpie stay on ceramic mugs?
You’ll want to be sure you clean it with rubbing alcohol and cotton balls first so it’s completely clean of oil and dirt. I can tell you from experience that a regular Sharpie, baked or unbaked, will just wash right off the mug. You HAVE TO use an oil-based paint Sharpie. This will help make your design permanent.
How do you put permanent marker on a coffee mug?
How do you customize a mug with a Sharpie?
Will Sharpie stay on ceramic mug?
How do you seal Sharpie on a mug?
- Tape off a 1/2 inch band around the top edge, turn the mug upside down, spray the mug with a very light coat. Be careful, the sealer will make the Sharpie run if applied too thickly.
- Allow sealer to dry according to package directions then apply a second coat.
- Allow the sealant to dry/cure completely.
